Assist Step Replacement (B3L - Assist Step)
Removal Procedure
- Extend the assist steps in the vehicle personal optimization chapter in the owners manual.
- Scroll to Deploy Running Boards on the navigation screen.
- Put the assist steps in the extended position.
- Raise and support the vehicle. Lifting and Jacking the Vehicle
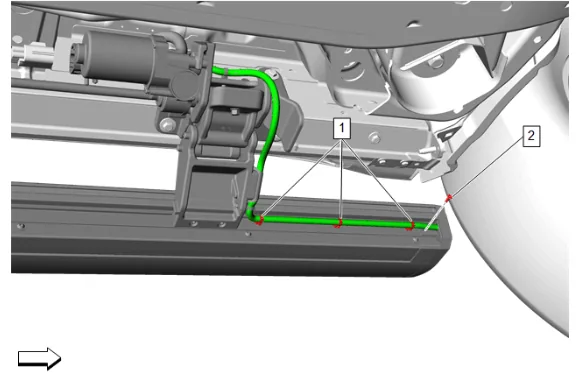
- Retainer (1) » Disengage [3x]
- Reposition the assist step wire out of the way.
- Assist Step Finish Cap Bolt (2) » Remove
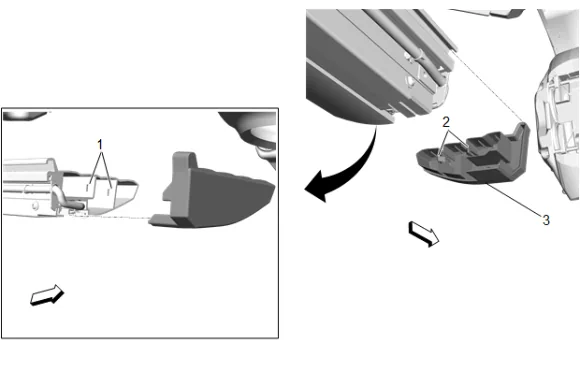
- Disengage the retaining tabs (2), from the slots (1) in the assist step.
- Assist Step Front Finish Cap (3) » Remove
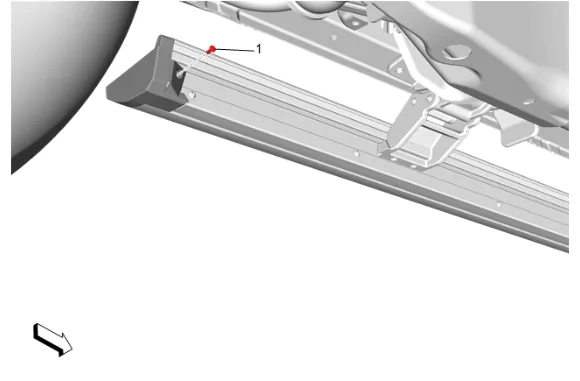
- Assist Step Finish Cap Bolt (1) » Remove
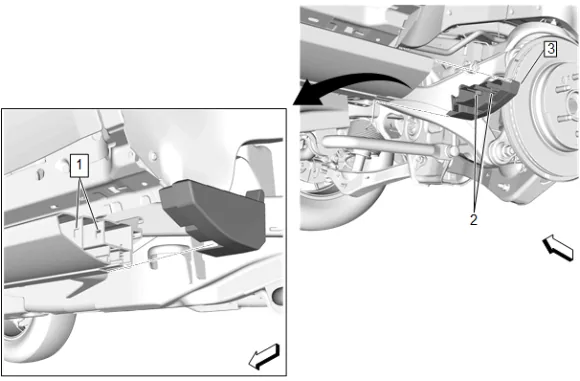
- Disengage the retaining tabs (2), from the slots (1) in the assist step.
- Assist Step Rear Finish Cap (3) » Remove
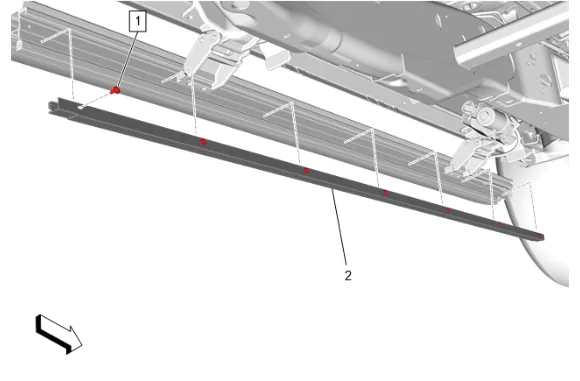
- Assist Step Shield Bolt (1) » Remove [7x]
- Assist Step Insert (2) » Remove
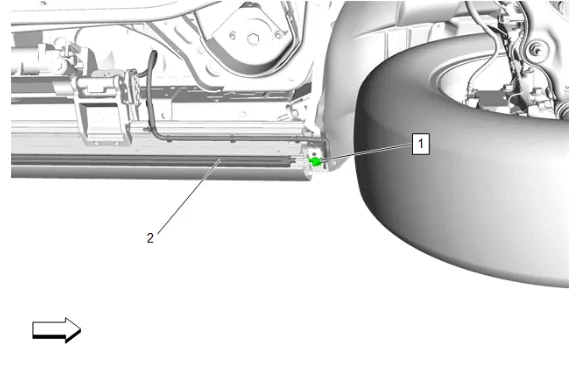
- Electrical Connector (1) @ Assist Step Lamp (2) » Disconnect
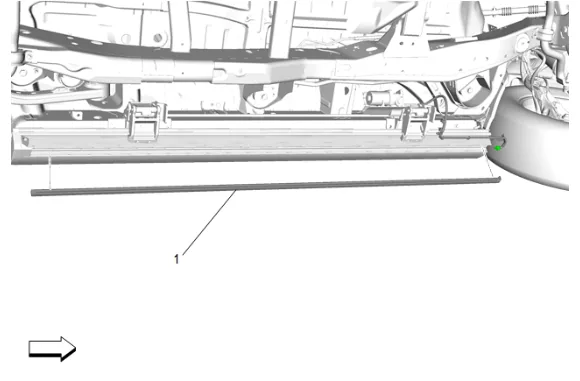
- Assist Step Lamp (1) » Remove
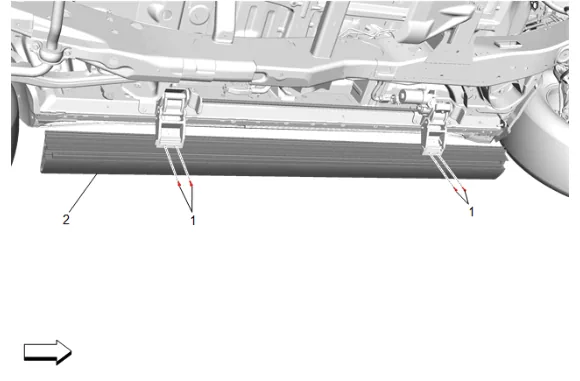
- Assist Step Bracket Bolt (1) » Remove [4x]
- Assist Step (2) » Remove
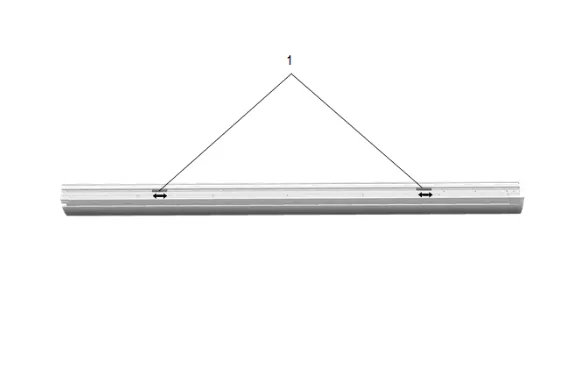
- Slide the assist step plates off the assist step rail and transfer to the NEW assist step. Installation Procedure
- Assist Step (2) » Install
-
Assist Step Bracket Bolt (1) » Install and tighten [4x] — Fastener Specifications
-
Assist Step Lamp (1) » Install
-
Electrical Connector (1) @ Assist Step Lamp (2) » Connect
-
Assist Step Insert (2) » Install
-
Assist Step Shield Bolt (1) » Install and tighten [7x] — Fastener Specifications
-
Engage the retaining tabs (2), to the slots (1) in the assist step.
-
Assist Step Front Finish Cap (3) » Install
-
Assist Step Finish Cap Bolt (2) » Install and tighten — Fastener Specifications
-
Retainer (1) » Engage [3x]
-
Assist Step Rear Finish Cap (3) » Install
-
Engage the retaining tabs (2), to the slots (1) in the assist step.
-
Assist Step Finish Cap Bolt (1) » Install and tighten — Fastener Specifications
-
Lower the vehicle.
-
Perform the assist step learn procedure. Assist Step Learn