Rear Compartment Floor Mat Replacement
Removal Procedure
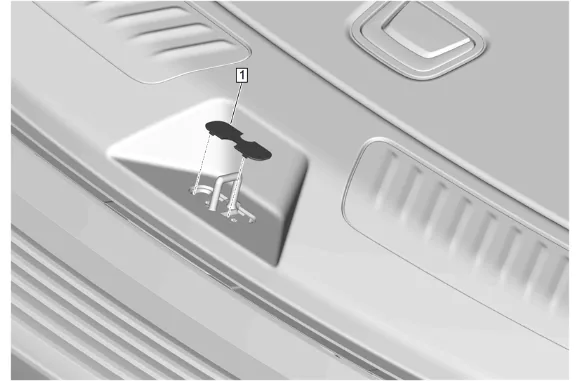
- Liftgate Lock Striker Cover (1) » Remove
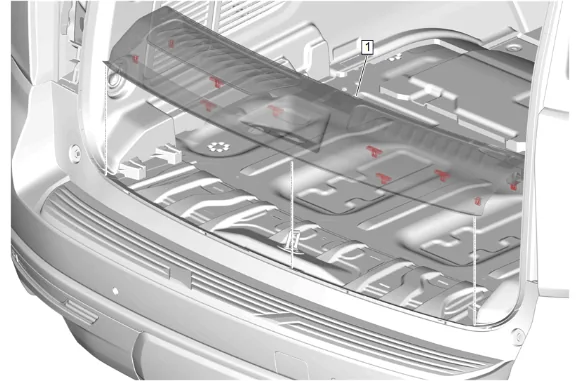
- Using a flat-bladed plastic trim tool, release the retaining clips.
- Rear End Trim Finish Panel (1) » Remove
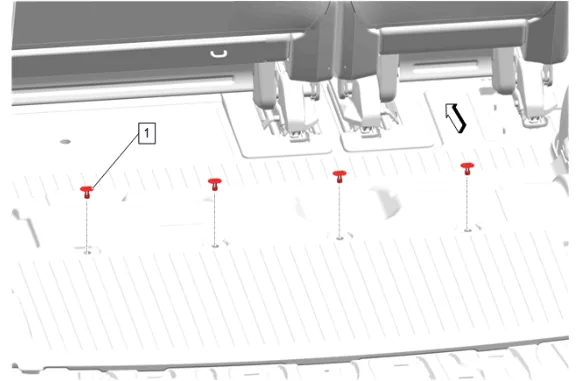
- Rear Compartment Floor Mat Retainer (1) » Remove [4x]
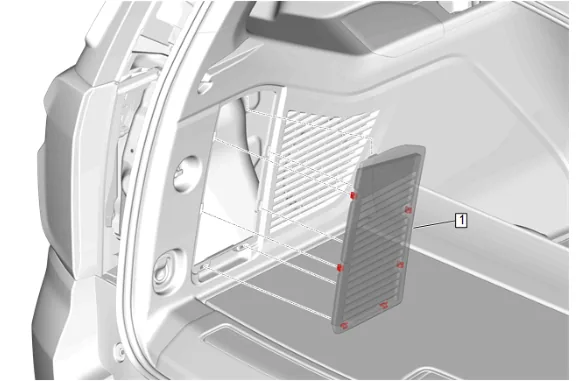
- Use a flat-bladed plastic trim tool to disengage the quarter stowage pocket door (1) and retaining clips.
-
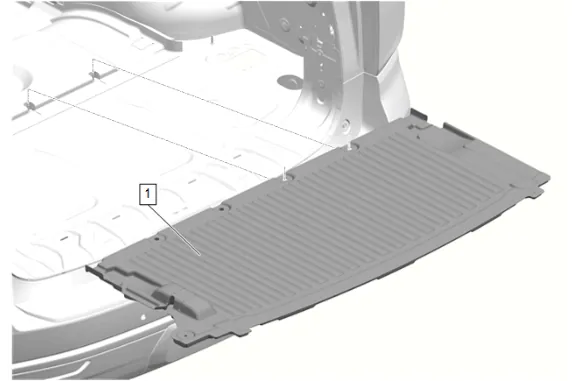
Reach through the quarter stowage pocket door opening in the quarter lower rear trim panel to release the rear compartment floor mat (1) from the retaining stud under the jack.
-
Carefully slide the rear compartment mat (1) out from behind the quarter lower rear trim panels one side at a time.
-
Rear Compartment Floor Mat (1) » Remove Installation Procedure
-
Rear Compartment Floor Mat (1) » Install
-
Carefully slide the rear compartment floor mat (1) under the quarter lower rear trim panels one side at a time.
-
Reach through the quarter stowage pocket door opening in the quarter lower rear trim panel to secure the rear compartment floor mat (1) on the retaining stud under the jack.
-
Quarter Stowage Pocket Door (1) » Install
-
Rear Compartment Floor Mat Retainer (1) » Install [4x]
-
Rear End Trim Finish Panel (1) » Install
-
Liftgate Lock Striker Cover (1) » Install