Transmission Support Crossmember Replacement (2WD)
Removal Procedure
- Raise and support the vehicle. Lifting and Jacking the Vehicle
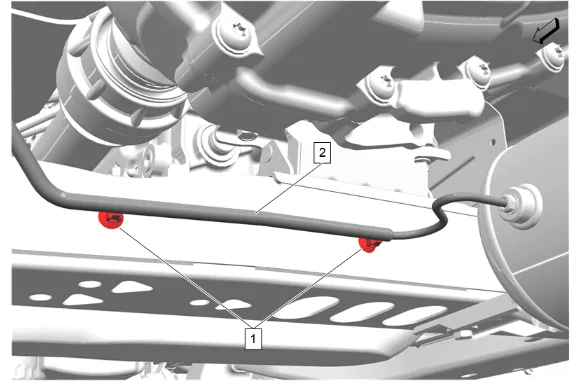
- Unclip the 2 air line retainers (1) and reposition the air line (2).
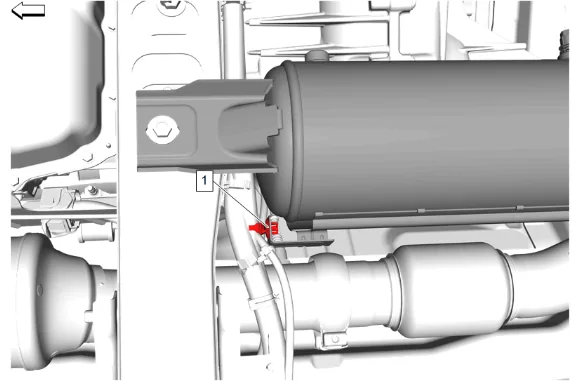
- Remove the chassis wire harness clip (1) from the automatic level control air supply reservoir.
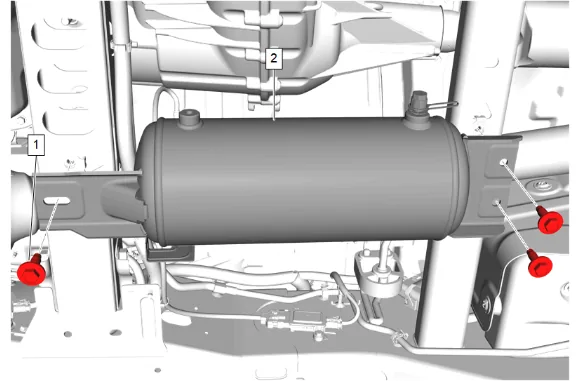
- Remove the 3 automatic level control air compressor bolts (1).
- Reposition and support the automatic level control air supply reservoir (2) out of the way of the transmission support crossmember.
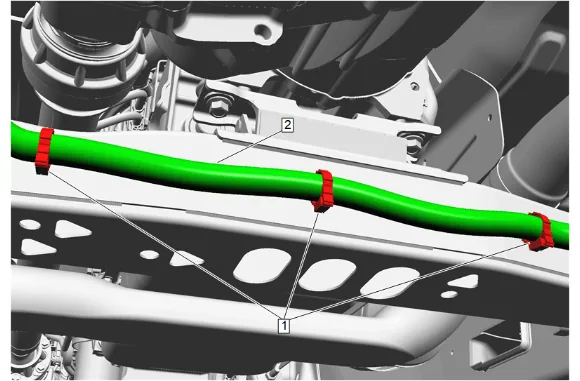
- If equipped, remove the 3 wiring harness retainers (1) from the transmission support crossmember, and reposition the wiring harness (2) as necessary.
- Support the transmission with a suitable jack.
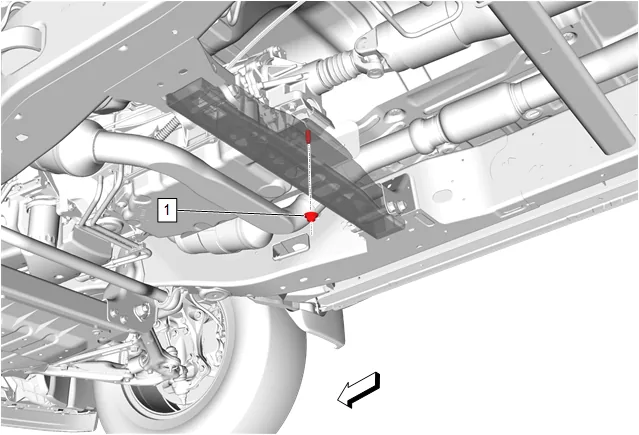
- Transmission Mount Nut (1) » Remove
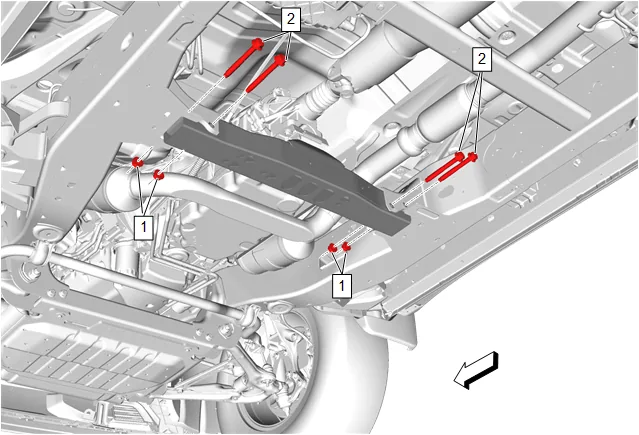
- Transmission Support Crossmember Nut (1) » Remove [4x]
- Transmission Support Crossmember Bolt (2) » Remove [4x]
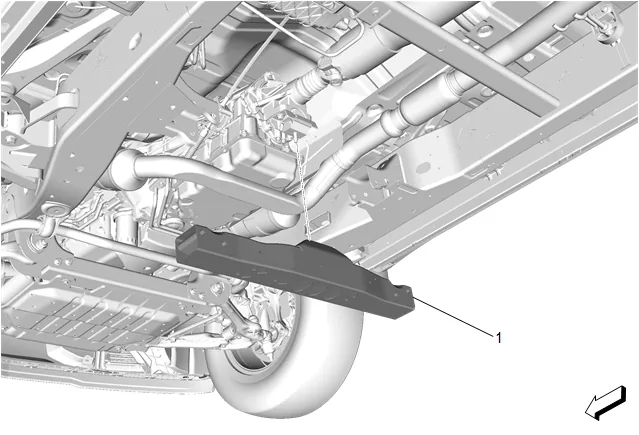
-
Transmission Support Crossmember (1) » Remove Installation Procedure
-
Transmission Support Crossmember (1) » Install
-
Transmission Support Crossmember Bolt (2) » Install [4x]
-
Transmission Support Crossmember Nut (1) » Install and tighten [4x] — Fastener Specifications
-
Transmission Mount Nut (1) » Install and tighten — Fastener Specifications
-
Remove the transmission jack.
-
If equipped, position the wiring harness (2) as necessary and install the harness retainers (1) into the transmission support crossmember.
-
Automatic Level Control Air Supply Reservoir (2) » Install
-
Install the 3 automatic level control air compressor bolts (1) and tighten. Fastener Specifications
-
Install the chassis wire harness clip (1) to the automatic level control air supply reservoir.
-
Install the air line (2) and clip the 2 air line retainers (1).
-
Lower the vehicle.