Rear Parking Assist Alarm Sensor Bracket Replacement
Removal Procedure
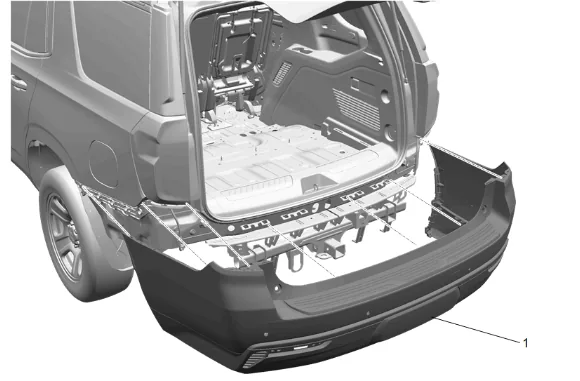
- Rear Bumper Fascia (1) » Remove — Rear Bumper Fascia Removal and Installation
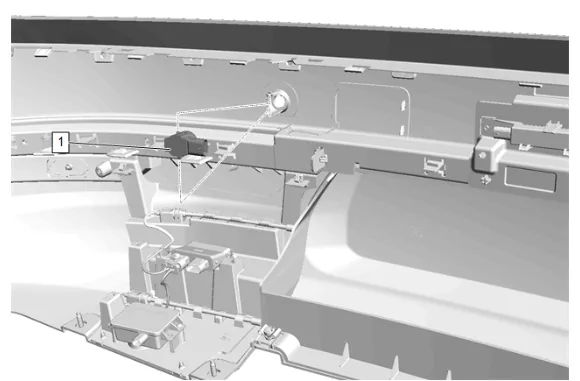
- Lift the locking tabs on the housing and remove the parking assist alarm sensor (1).
- Disconnect the electrical connector.
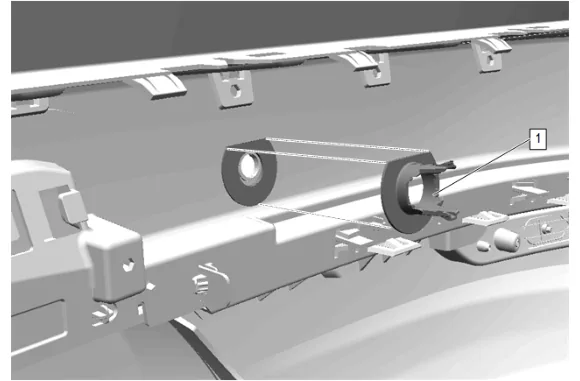
- Using a flat bladed tool, carefully remove the rear parking assist alarm sensor bracket (1) from the fascia.
-
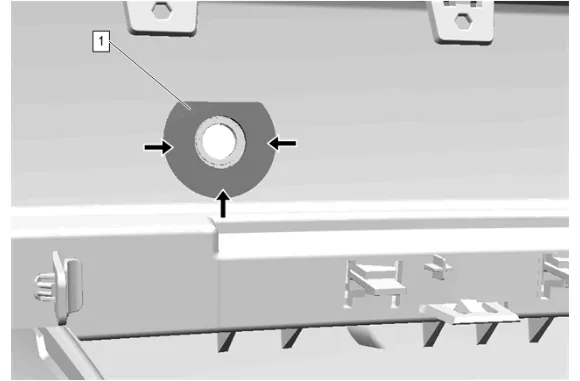
Sand sonic weld plastic residue (1) from the fascia. Installation Procedure
-
Clean the repair area (1) with Fusor 703 cleaner or equivalent.
-
Apply structural adhesive epoxy, Lord Fusor™ 127EZ or equivalent, to fascia at mating surface (1) according to manufacturer’s directions.
-
Using the alignment tabs/outline, install the rear parking assist alarm sensor bracket (1) to the fascia.
-
Use care to avoid excess material squeeze out around rear parking assist alarm sensor bracket (1).
-
Lightly clamp, tape or apply a weight to the rear parking assist alarm sensor bracket (1) to hold it in place until adhesive cures.
-
Allow adhesive to cure according to manufacturer’s directions.
-
Insert the rear parking assist alarm sensor (1) into the housing.
-
Connect the electrical connector.
-
Rear Bumper Fascia (1) » Install — Rear Bumper Fascia Removal and Installation