Tire and Wheel Removal and Installation (Aluminum Wheel)
Tire and Wheel Removal and Installation (Aluminum Wheel) Special Tools CH-41013 Rotor Resurfacing Kit CH-42450-A Wheel Hub Resurfacing Kit Equivalent regional tools: Special Tools Removal Procedure
- Raise and support the vehicle. Lifting and Jacking the Vehicle
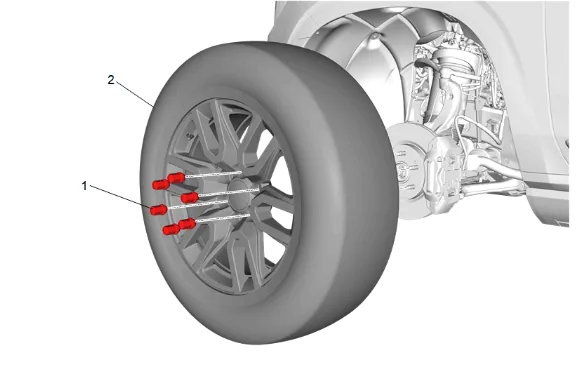
- Wheel Nut (1) » Remove [6x]
- Tire and Wheel Assembly (2) » Remove
- If the tire and wheel assembly is difficult to remove or cannot be removed, perform the following steps: 4.1. All four tire and wheel assemblies must be on the vehicle and properly torqued prior to performing the following steps to the affected tire and wheel assembly only. 4.2. Loosen the wheel nuts of the affected wheel 2 complete turns. 4.3. Lower the vehicle. 4.4. Rock the vehicle from side to side. 4.5. Repeat the procedure if necessary. 4.6. When the tire and wheel assembly loosens, raise and support the vehicle. Lifting and Jacking the Vehicle 4.7. Remove the wheel nuts. 4.8. Remove the tire and wheel assembly.
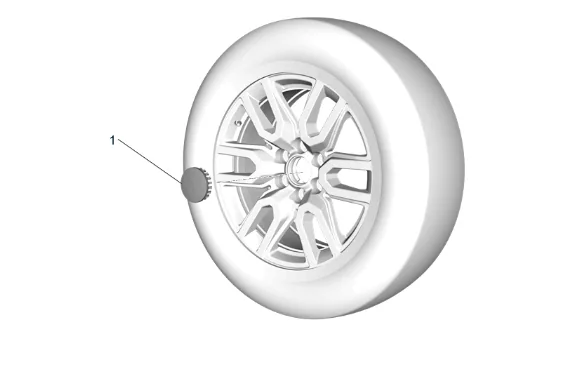
- Wheel Trim Cap (1) » Remove Cleaning and Inspection Procedure - Conditional
- Using a wire brush or wire wheel, clean the wheel to brake rotor mating surface.
- Using the CH-41013 Rotor Resurfacing Kit, clean the rotor to wheel contact area.
- Using the CH-42450-A Wheel Hub Resurfacing Kit, clean the surfaces around the front and rear wheel hub bolts.
- Clean and inspect the threads, if damage is noticed replace as necessary.
- After cleaning all of the wheel and brake rotor contact areas, use brake cleaner or denatured alcohol to remove any dirt and debris from the wheel nuts and the brake rotor.
- Inspect and clean the contact areas of the wheel. Wheel Mounting Surface Check Installation Procedure
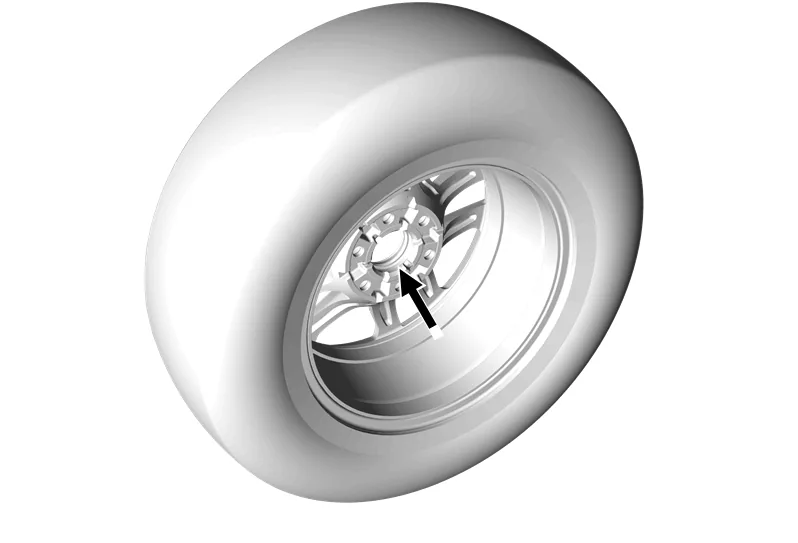
-
Apply a small amount of lubricant to the inner diameter of the wheel hub pilot hole, as indicated by the arrow, where it contacts the wheel hub flange. Adhesives, Fluids, Lubricants, and Sealers
-
Wheel Trim Cap (1) » Install
-
Tire and Wheel Assembly (2) » Install
- Wheel Nut (1) » Install and hand tighten [6x]
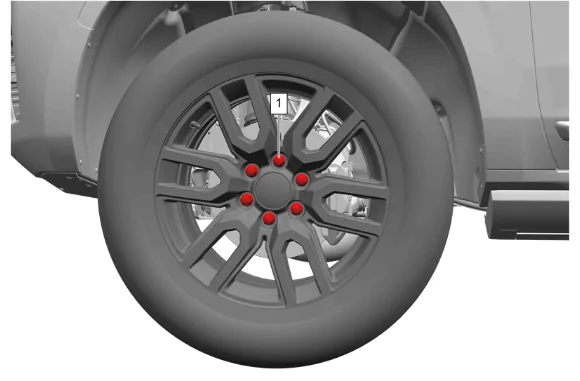
- Using a torque wrench and the appropriate socket, evenly tighten the 6 wheel nuts (1) in a crisscross pattern. Fastener Specifications
- Remove the support and lower the vehicle.